5 Minute Quickstart
Create an account
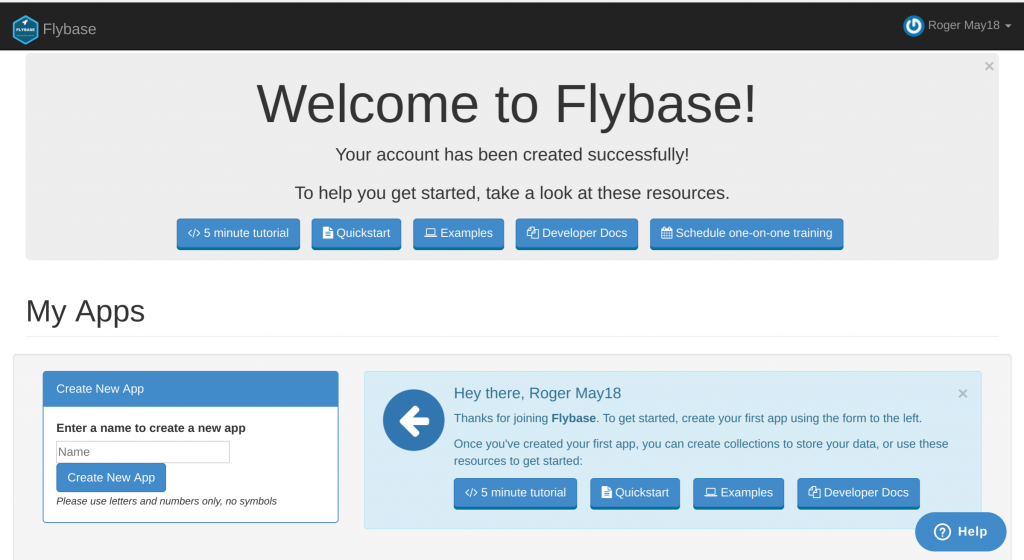
The first thing you need to do to get started with Flybase is sign up for a free account.

Once you sign up, create your first app and make a note of your API Key, and the name of your app. We’ll use this URL to store and sync data.
Base URL and headers
All URLs referenced in the documentation have the following base:
https://api.flybase.io/The Flybase REST API is served over HTTPS. To ensure data privacy, unencrypted HTTP is not supported.
In order to access any data from the REST API, you must pass a header called X-Flybase-API-KEY
curl -H "X-Flybase-API-Key: 74c8062f-cd6f-4c07-8baf-b1h241496dec" https://api.flybase.io/Calling the REST API without any actions in the URL will result in validating the API Key. You can also call the REST API with the following end point to validate the API key:
curl -H "X-Flybase-API-Key: 74c8062f-cd6f-4c07-8baf-b1h241496dec" https://api.flybase.io/validate_keyAn invalid API Key will result in not being able to do any other actions with the REST API. You can create new API Keys and add rules such as limiting access to apps or whitelisting access only to specified IP addresses or websites from your account.
Passing JSON Web Tokens
If you don’t want to pass your API key everytime then you can also pass a JSON web token.
This can be generated by passing the following query:
curl -X POST https://api.flybase.io/create-token/74c8062f-cd6f-4c07-8baf-b1h241496decThis will return a JSON object with id_result as the key, copy the contents of id_result to use elsewhere.
Then you can pass the JSON token rather than your API key via one of two ways:
curl -H "Authorization: Bearer MYTOKEN https://api.flybase.io/curl https://api.flybase.io/?jwttoken=MYTOKENEither of these two methods work and provide a handy way to pass your api keys without actually passing your keys.
Write to your Flybase App
To create a new document in the specified collection:
POST /apps/{app}/collections/{collection}Content-Type: application/jsonBody: <JSON data>curl -X POST -d '{ "first": "Jack", "last": "Sparrow" }' \ -H "X-Flybase-API-Key: 74c8062f-cd6f-4c07-8baf-b1h241496dec" \ https://api.flybase.io/apps/MY-APP/collections/MY-COLLECTIONIf you POST a document that contains an _id field, the effect will be to overwrite any existing document with that _id. When your document already includes an _id value, think of POST like “save” or “upsert” (discussed below) rather than “create” or “insert”.
One consequence of this behavior: for a document with an _id specified, there is no straightforward way in the API to realize a pure “insert” — that is, an operation that refuses to modify a pre-existing document with that _id. POST will save over the old document; PUT will modify it. If this property is problematic for your application, consider using a field other than _id, with its own index to enforce uniqueness.
Read from your Flybase App
To get the documents in the specified collection. If no parameters are passed, it lists all of them. Otherwise, it lists the documents in the collection matching the specified parameters: :
GET /apps/{app}/collections/{collection}curl -H "X-Flybase-API-Key: 74c8062f-cd6f-4c07-8baf-b1h241496dec" https://api.flybase.io/apps/MY-APP/collections/MY-COLLECTIONA successful request will be indicated by a 200 OK HTTP status code. The response will contain the data being retrieved:
{ "_id": "uniquedocid-1", "first": "Jack", "last": "Sparrow", "active": 1}All documents contain a _id field, you can use this for updating or deleting the document later. Any other fields depend on your structure
Optional parameters
Our optional parameters are based on MongoDB references, so you can build a query similar to how you would with MongoDB. This helps give you a lot of power and flexibility.
q=<query>– restrict results by the specified JSON queryc=true– return the result count for this queryf=<set of fields>– specify the set of fields to include or exclude in each document (1 – include; 0 – exclude)fo=true– return a single document from the result sets=<sort order>– specify the order in which to sort each specified field (1- ascending; -1 – descending)sk=<num results to skip>– specify the number of results to skip in the result set; useful for pagingl=<limit>– specify the limit for the number of results (default is 1000)
Examples using these parameters:
"q" example - return all documents with "active" field of true:https://api.flybase.io/apps/MY-APP/collections/MY-COLLECTION?q={"active": true}"c" example - return the count of documents with "active" of true:https://api.flybase.io/apps/MY-APP/collections/MY-COLLECTION?q={"active": true}&c=true"f" example (include) - return all documents but include only the "firstName" and "lastName" fields:https://api.flybase.io/apps/MY-APP/collections/MY-COLLECTION?f={"firstName": 1, "lastName": 1}"f" example (exclude) - return all documents but exclude the "notes" field:https://api.flybase.io/apps/MY-APP/collections/MY-COLLECTION?f={"notes": 0}"fo" example - return a single document matching "active" field of true:https://api.flybase.io/apps/MY-APP/collections/MY-COLLECTION?q={"active": true}&fo=true"s" example - return all documents sorted by "priority" ascending and "difficulty" descending: https://api.flybase.io/apps/MY-APP/collections/MY-COLLECTION?s={"priority": 1, "difficulty": -1}"sk" and "l" example - sort by "name" ascending and return 10 documents after skipping 20https://api.flybase.io/apps/MY-APP/collections/MY-COLLECTION?s={"name":1}&sk=20&l=10